
There’s nothing like the feeling of confidence after a blow-out at the salon. Your hair is flowing in satisfying directions and you feel like a supermodel. Blow-outs are becoming more and more expensive by the day. The average cost is $20 to $100, and this is one of the many reasons most people cannot afford to go to the salon every week.
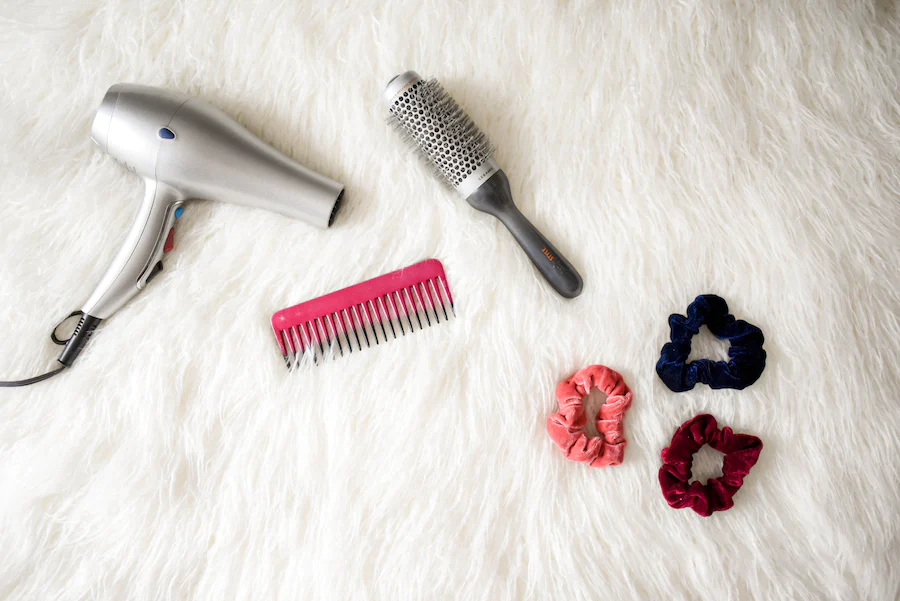
There is a way to get that perfect blow-out at home. You can use a hair-dryer or a blow-out brush, and this tutorial is made specifically for a blow-out brush.
STEP ONE: WET OR WASH YOUR HAIR
Start by washing your hair or wetting it. Blow drying damp hair is the best way to achieve the style you want with minimal damage.
Then start detangling your hair and adding in your products. I added a Maui leave-in conditioner. I also added in the Amika Brooklyn Bombshell blow-out spray, which contains heat protectant. Here I am detangling my hair with a simple comb.
Blow drying hair that’s too wet or too dry can result in heat damage, dullness and frizz. I recommend towel drying your hair with a microfiber towel for about 20 minutes, and then letting it air-dry until your hair is about 60% dry.
Here I am blow drying my hair with my Conair “The Dr.Knot” Blow-out brush. I recommend this brush because the head is detachable, so you also have a blow-dryer.
STEP TWO: START BLOWING OUT YOUR HAIR
After your hair is almost dry and detangled, section your hair. I have very thick hair, so I put my hair into three sections, and split up each section into two. You can tie up your hair with a hair tie or claw clip.
One section at a time, slowly pass the brush through your hair. The more you curve your brush, the more of a curl that section of hair will have. Some brushes, like the BaByliss Hydro Fusion or Revlon hair dryer brush, have an auto-rotate feature, but if your brush doesn’t have this feature simply turn the brush while you pull it through your hair to create movement. Mine does not have an auto-rotate feature, so I just simply turn my brush while going through each section.
As someone who has wavy hair, I blew-dry my hair to be straighter so I won’t have any waves or curls. My hair is extremely frizz-prone, so I kept blow drying until almost straight, while turning out my brush at the end to create the blow-out look.
If your hair is curly or wavy, blow your hair out on the hottest setting of your brush. If you leave it on cool, you will still have waves and curls and won’t fully get the blow-out effect.
STEP THREE: ADD IN PRODUCTS
Once my hair is fully blown-out, I always add in more anti-frizz spray and shine spray. Here I am using the Redkin anti-frizz and the Rusk shine mist. This will help you get the salon look, without actually going to the salon.
I simply spray the products in my hand, and then run my fingers through my hair. When I apply them, a lot of product comes out in one spray so I prefer to evenly distribute it with my hand instead.
After applying all these steps, I believe I achieved the salon-style blow-out. Using a blow-out brush takes getting used to and once you get the hang of it, you’ll achieve it too.

Leave a comment